
This blog will look at the steps to replace your Mini's front & rear suspension cones.
Tools you will need:
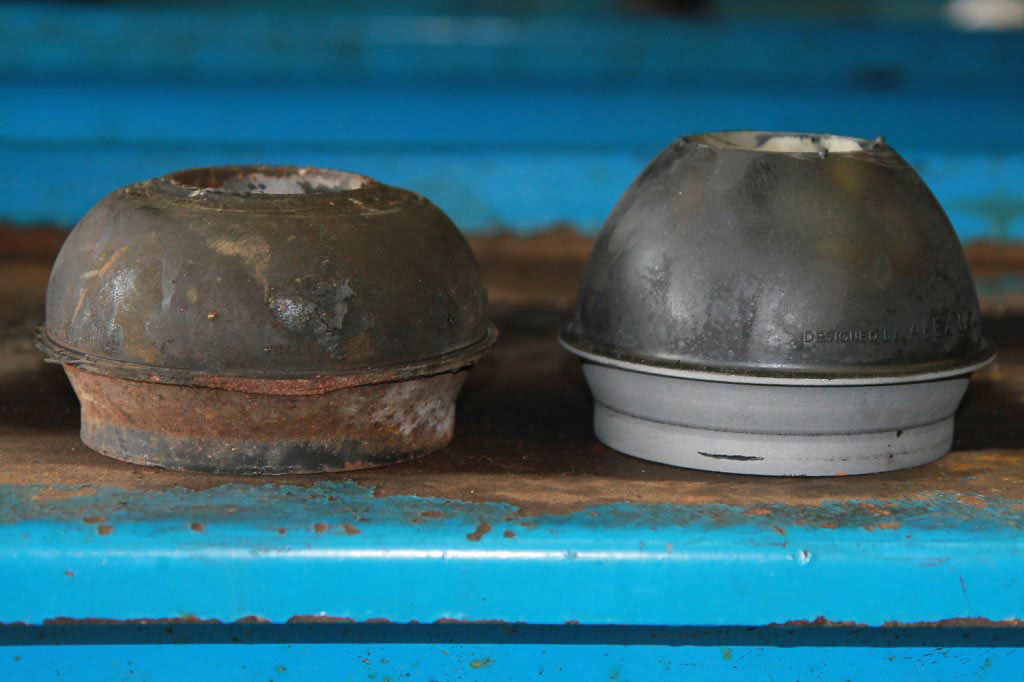
Front Suspension Cone
 Follow instructions for replacing the shock absorber.
- Remove the front subframe tower bolt (post 76).
- Use the suspension compression tool through the tower bolt holes to compress the suspension cone.
- Remove the upper suspension arm to give access to the suspension cone and strut.
- Disassemble the strut from the suspension cone and remove it together with the knuckle joint.
- Undo the compression tool from the suspension cone and then remove the cone from the subframe.
- Replace the suspension cone and re-assemble with the strut and knuckle joint in reverse order. Lubricate the top arm with grease using the grease nipple.
Rear Suspension Cone
- Use a ramp or a jack to raise the wheel off the ground and support the body under the subframe with an axle stand
- Remove the road wheel.
- Use a block to support the radius arm to allow you to remove the shock absorber top mount from the wheel arch ( you will need to remove the fuel tank on the L/H side to gain access to this mount )
- With the shock absorber mount removed, you can then remove the block and allow the radius arm to drop, this will release the tension on the suspension cone allowing it to be removed and replaced.
- Replacement of the suspension cone is sequenced in exact reverse of the above.
If you need any help or have any questions our dedicated Mini experts are always on hand to answer your enquiries on anything Mini – get in touch!
Speak to us on +44 (0) 1282 778 731 or send an e-mail to sales@minisport.com and we’ll be back in touch as soon as possible.
Alternatively you can also shop our entire Mini Suspension range here or reference our Suspension 'Easy Parts Finder' below.
Helpful Links:-
